Letter Project

Can you guess what the letters spell?! For this project I just made 7 pictures in the Dark Room and then I had to make the matt. I origanally planned to have the letters all in one line but there were too many letters and they would not fit. Still can't figure out what the word is? It's courage!
___________________________________________________________
Solarization

I love this one! Making this picture is..quick, frantic, and a rush! For this photo you expose your paper for the normal amount of time you would any other picture. Then you put it into the developer but once you start to anything at all, you take it out of the developer and expose the paper for about two seconds without your film or filter so that it is just light. Once you expose that paper to light again, you can go through all of the normal developing steps. I think that the final product is really cool :)
_________________________________________________________
Double Negative
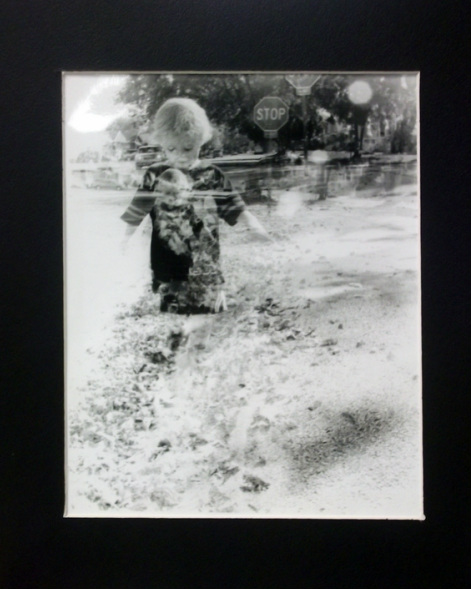
I really love this photo. This is a picture of my neighbor when we were on our way to the park on a beauitful fall day! I think the reason that I like this photo so much is because you can see him in himself and his head is looking down in both poses. To create this photo, I put to negatives on top of each other and I just completed the normal developing process.
____________________________________________________________
Shadows

Here are some pictures of me with different shadows on my face! :) They crack me up.
____________________________________________________________
Photograms
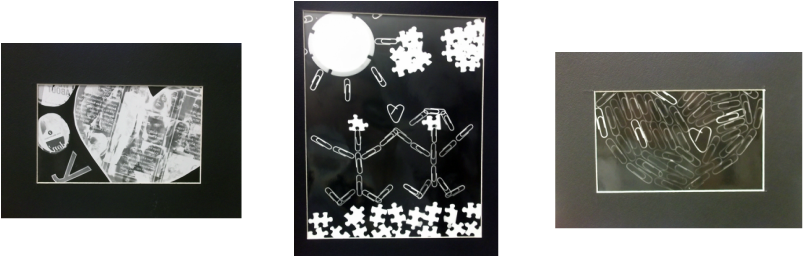
These are my Photograms! I had a lot of fun with paper clips and magazine clippings! To make the Photogram on the left all you do is cut out a clipping from a magazine and put it on top of the photo paper and that's it! But the tricky part is that you have to be aware of what is on both sides of the clipping because both sides will show up on the final product. For the other two all you to is find things random things and put them on your photo paper. It's really enjoyable.
____________________________________________________________
Toning
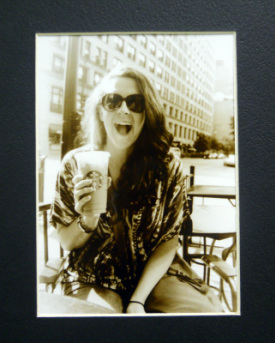
"Mmm Staarbucks"
The picture aboue is my cousin, Patsy. She is like my older sister and our relationship is like none other. She lives downtown so one weekend I went down and we took pictures all day! This picture is totally her! As you might have noticed, this picture is not a normal Dark Room picture, as they are black and white. Once I developed this picture and was satisfied with the result, I was able to tone this picture into a sepia tone. To tone it you have to first put it into a bucket of bleach so that all of the dark parts of the picture come out, like her hair and the bushes in the background. Then you put it into the chemicals that would turn it sepia. Since the bleach took all of the dark parts out of the picture, the sepia chemicals put them back in. It's really cool! Toning, to me, is just the coolest thing. :)
______________________________________________________

"Haaay!"
This just makes me laugh :) we just had to take a break by the lake on such a nice day. This is by the Science and Industry Museum. The waves were so big and it gave us a nice little breaze, it was so relaxing! For this picture I toned this picture in the red chemicals to turn all of the dark tones red.
_____________________________________________________
"I'm Lovin' it!"
After walking around the town all day, we had to take a break at McDonalds! This is one of my favorites because of the color. We had blue and red tones to dye our pictures so I used both colors for it to come out like a purple color!
______________________________________________________
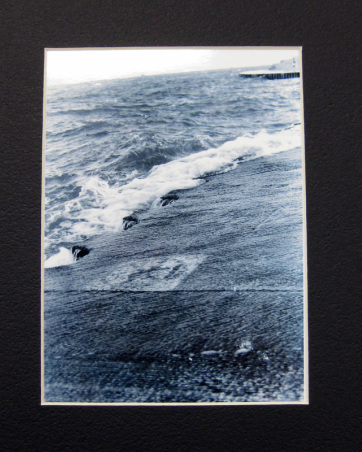
"The Waves"
These are the waves that I was talking about in the earlier picture. For this picture I used the blue toning chemicals. One thing that I think is really cool abou this picture is that the toning chemicals made the waves come somewhat alive to me.
________________________________________________________
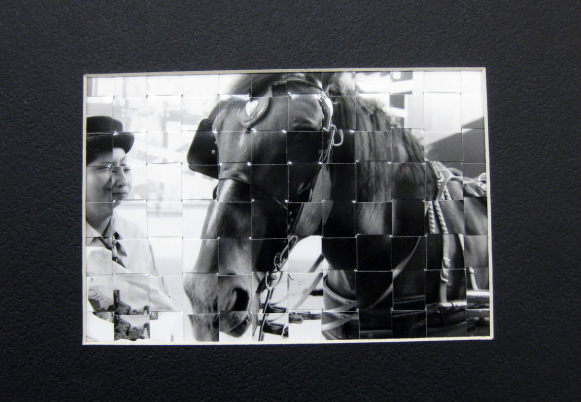
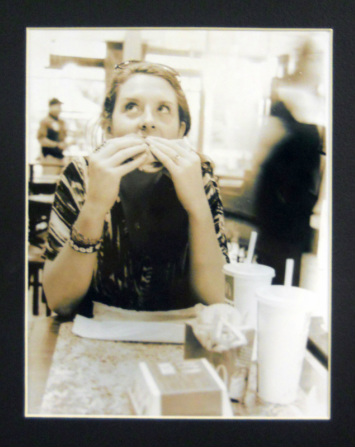
"Feed Me!"
This picture just cracks me up! My cousin and I were by Water Tower Place and they had horses lined up to give people carriage rides around DownTown. There was this horse and he was eating. So I asked the lady, in the picture if I could take a picture of them and she said yes. I swear, this horse was posing for me! Anyways, for this picture I made the same picture twice. Once that I had both of the pictures I cut one horizontally and vertically. Then, once they were cut, I weaved them together! It was confusing at first but once I was able to get the hang of it, it was no problem!
_________________________________________________________

"I Love My City!"
This one is my favorite! This picture was so random and I think that is why I like it so much. We were walking down the street and then I saw the lighting, all of the people and cars, and the trees and I just stopped and told her to put her hands up! We were the people that you get annoyed at for stopping right in the middle of the side walk and have to walk around. I did the same thing that I did with the picture above this one.
__________________________________________________
Pin-hole Camera
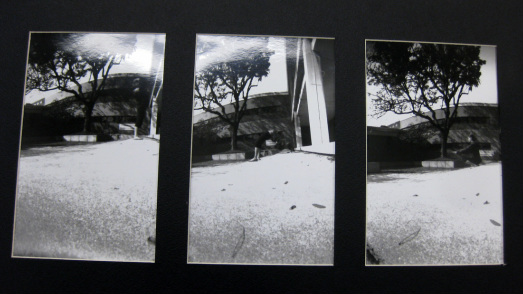
"Look at Me! Look at Me!"
For this set of pictures I didn't use a typical camera. No, not film. I used a Pin-hole camera, which is a camera that we make in class. It is an oatmeal container that we painted black so that when we took the camera outside light would not get into it. Then, we cut out a rectangle in the oatmeal container and put in a piece of aluminum from a can and poked a whole in it. We poked a hole in it so that when we put photo paper into the container, the light will go through the hole and onto the paper. This set of photos, I made it like a story. The other Studio classmate, Erika Ditter, helped me by doing a back flip in three different pictures! It was funny how all of this came together. One day the sun was just perfect and we figured out the perfect time, we did both of our projects that day. We were sprinting from the Dark Room to outside and back! It was a work out!
